
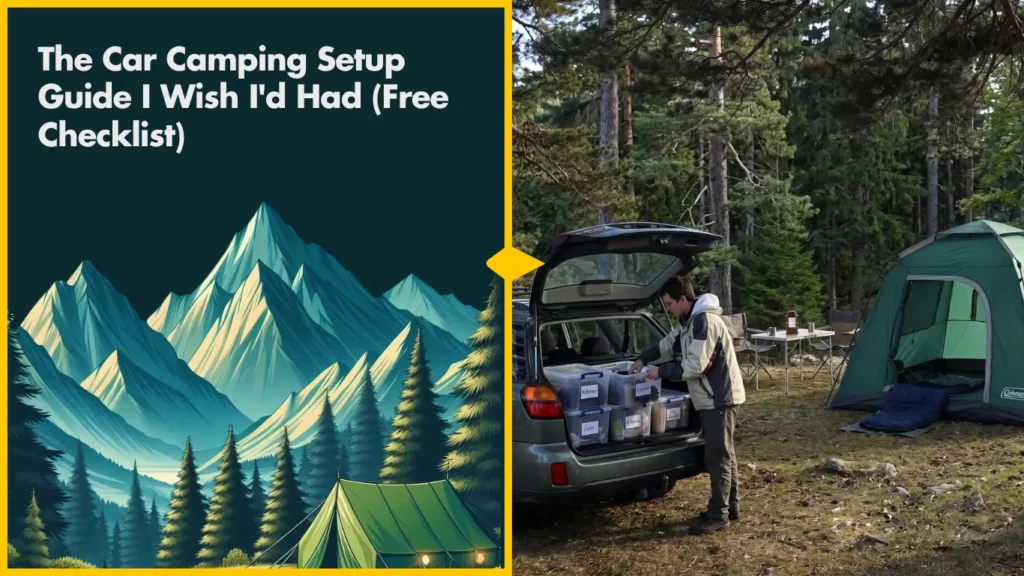
You’ve got the trunk half-loaded and you’re already not sure where anything goes. Or maybe you camped once, and by 8 p.m. you were digging through three different bags for a headlamp while the stove sat buried under a cooler somewhere. A car camping setup sounds like it should be simple — throw some gear in the car, drive somewhere pretty, done. It mostly is. What trips people up isn’t the gear. It’s not having a system for where things live, what gets set up first, and which pieces you can skip entirely when you’re just getting started.
This guide covers the four parts that actually make a car camping setup work — sleep, kitchen, outdoor space, and organization — plus a full packing checklist and a handful of car camping ideas worth stealing, all in one place you can screenshot before your next trip.
This article contains affiliate links. If you purchase through these links, I may earn a small commission at no extra cost to you. My recommendations are based on personal experience and thorough testing. Read my full disclosure for details.
Start With Zones, Not Gear
Most advice on car camping setups starts with a shopping list. Buy this tent, this stove, this cooler, done. But a pile of good gear dropped in the wrong order still turns into chaos by sundown. Layout is what actually holds a car camping setup together.
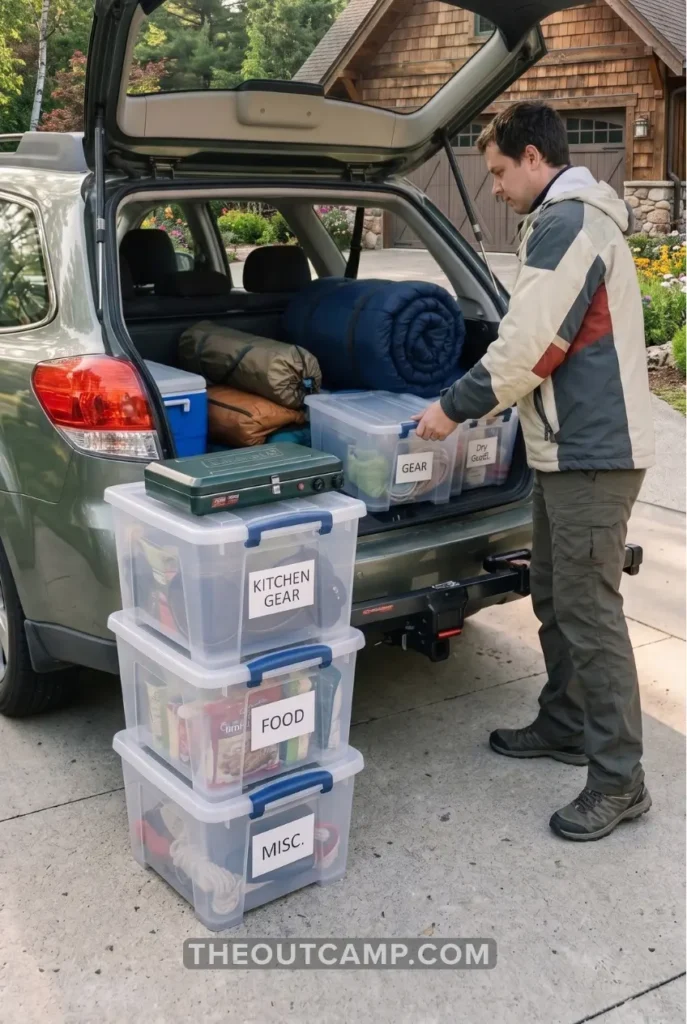
Before I unpack a single bin, I walk the site. Where the tent goes — flat ground, a little upwind of the fire ring if there’s one. Where the kitchen zone sits, usually close to the car but not blocking the trunk. Where the stuff I’ll need constantly, like a headlamp or bug spray, ends up so I’m not digging for it once it’s dark. Takes about two minutes. Saves closer to an hour of moving bins around later.
Pack your car in the order you’ll unpack it, too. Sleeping bags and pillows at the bottom. The camp kitchen bin, fire supplies, and chairs on top, because those are the first things you’ll reach for. First trip I ever took seriously, my stove was buried under both sleeping bags at the very bottom of the trunk, and I ended up cooking dinner with a headlamp clenched in my teeth an hour later than planned. Now the kitchen bin goes in last, every time — though that’s just the order that works for how I pack. If you’re the one who always forgets sunscreen instead of a headlamp, load around whatever you actually reach for first.
The Car Camping Setup Checklist (Sleep, Kitchen, Outdoor, Safety)
Here’s a car camping packing list — or a pack list, checklist, whatever you want to call it — broken into the categories that actually matter, not just a wall of gear names. Not everything on here is required for every trip. A basic car camping list for one night solo looks a lot leaner than what a family of four needs for a long weekend, so treat this as the full list of things to bring and cut from there if you’re keeping it minimalist.
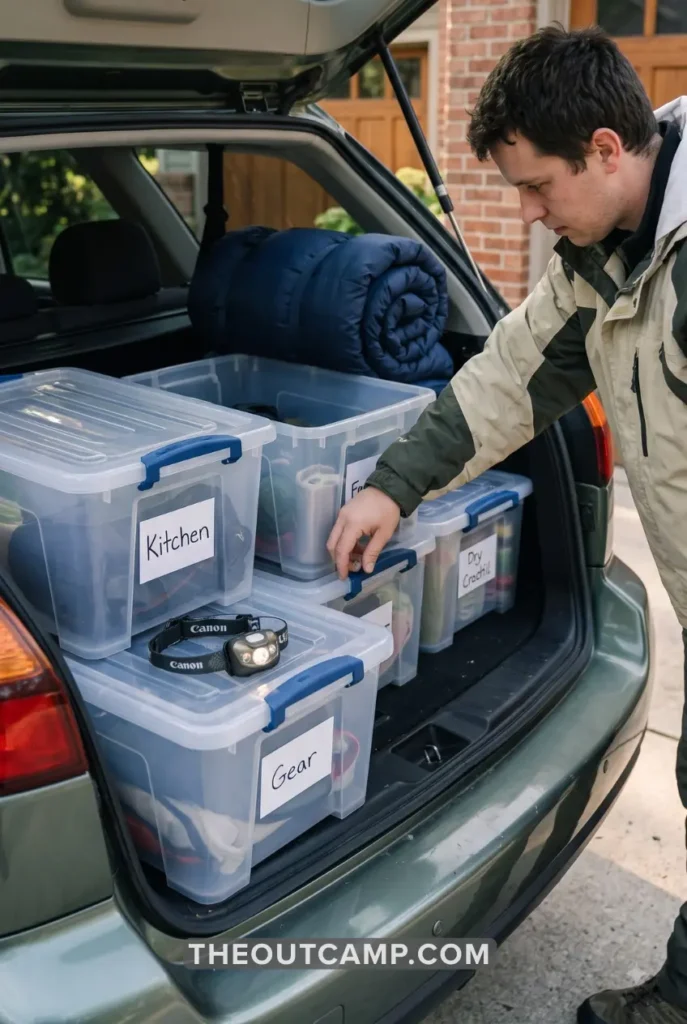
This is close to what’s actually in my trunk most trips, not a theoretical list I put together for this article. I’ll admit the tarp doesn’t come every time — mostly when rain’s actually in the forecast, since it’s one more thing to pack and I’ve skipped it plenty of times without regretting it.
Sleep System
- Tent (sized for your group, plus a little extra room) or a sleeping platform for the vehicle
- Sleeping bags rated for temps colder than you expect
- Sleeping pad or air mattress, sized to actually fit your vehicle or tent floor
- Pillows
- An extra blanket — you’ll want it more nights than you think
Camp Kitchen
- Two-burner propane stove and extra fuel canisters
- Cast iron skillet or basic cookware, plus a spatula and tongs
- Cooler, plus a plan for ice or frozen water bottles
- Cutting board, knife, dish soap, and a small basin for cleanup
- Trash bags
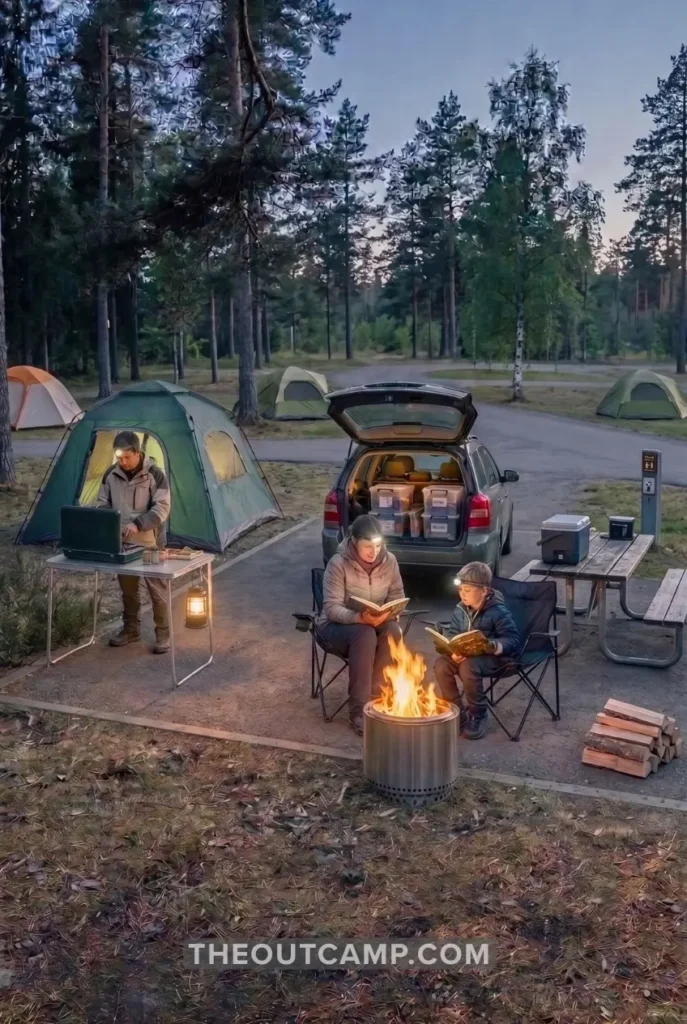
Outdoor Living
- Folding table
- Camp chairs
- Some kind of shade — a canopy, an awning, or a tarp setup
- Lantern or string lights
- A doormat for the tent or car door
Organization and Power
- Storage bins (clear ones, so you can see what’s inside without opening them)
- Headlamps for everyone, kept somewhere you can find them in the dark
- A portable power bank or power station if you’re charging phones or running a fan
- A first-aid kit
Safety and Weather
- Jumper cables
- Basic tire repair kit
- Window covers or a sun shade, if you’re sleeping in the vehicle
- Bug spray and, if you’re sleeping with windows cracked, some kind of mosquito net
Print that, screenshot it, save it as a PDF on your phone — whatever works. The point isn’t to buy everything on it at once.
Do You Need a Tent, or Can You Sleep in the Car?
This is where a lot of car camping setup guides for beginners skip a step, so let’s cover it. “Car camping” gets used two ways, and figuring out how to camp in a car versus how to camp near one changes almost everything else in this guide. Most often it means driving to a campsite and pitching a tent instead of hiking in — the vehicle is just how you got the gear there. Sometimes it means sleeping inside the vehicle itself — car sleeping, some people call it — on a platform or a folded-down back seat, no tent involved.
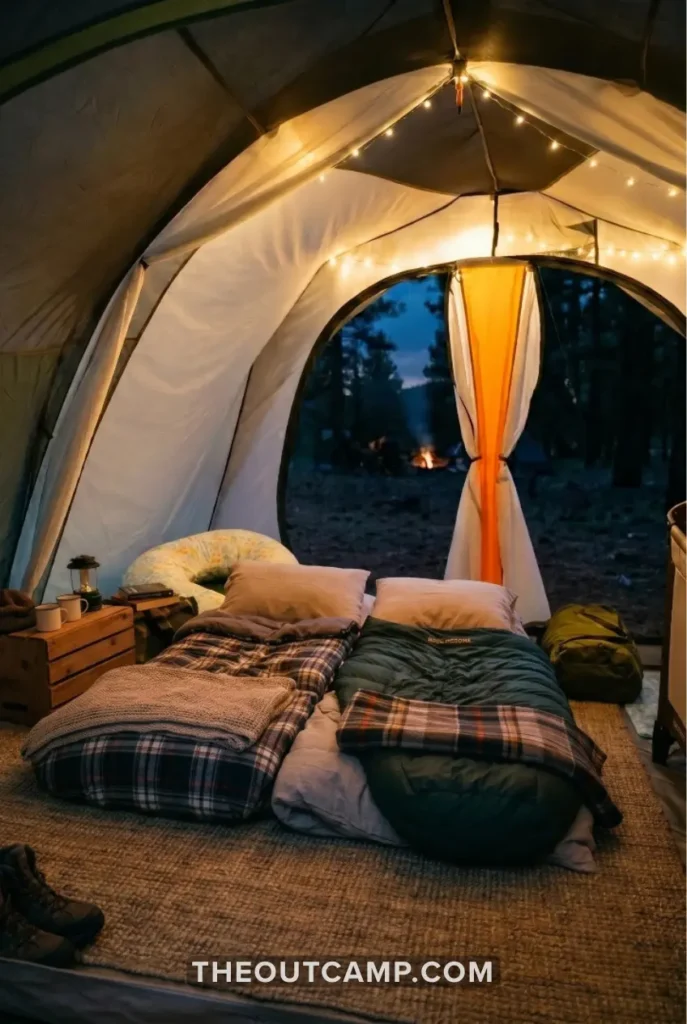
Both are valid, and I don’t think one is better than the other across the board — it depends what you’re actually optimizing for. A tent gives you more space and it’s easier to sit up, change clothes, and spread out. Sleeping in the vehicle is faster to set up, keeps you off cold or wet ground, and feels more secure to a lot of people, especially solo campers or anyone camping somewhere unfamiliar.
I go with the tent almost every time. Not because it’s the objectively better option — it’s just what fits how I camp. I usually bring enough gear that the car’s too packed to sleep in comfortably anyway, and I’d rather have room to actually sit up and change clothes than do it hunched over in the driver’s seat. I did try sleeping in the car once, on the way back from a trip when it was too late to justify pitching a tent for one night — seats down, sleeping bag on a folded blanket, no mattress. It worked, technically. I woke up with a crick in my neck from the wheel well curve digging into the cargo area, and I haven’t tried it again without a proper platform since.
If you’re going the sleep-in-the-car route, fit matters more than almost anything else on this list. A mattress that’s two inches too wide for your back seat will bunch up against the door panels, and you’ll spend the whole night sliding toward the middle. I’ve got a full breakdown on how to actually sleep comfortably in a car overnight if that’s the setup you’re leaning toward — worth reading before you buy a mattress, not after.
Whichever you pick, test it before the trip. Set the tent up in the backyard once. Fold the seats down and lay the mattress in the driveway. It’s a lot less frustrating to find out something doesn’t fit ahead of time than it is two hours from cell service.
Building a Kitchen Zone That Doesn’t Fall Apart by Night Two
A car camping kitchen setup doesn’t need to be complicated, and it definitely doesn’t need matching gear. What it needs is a table it lives on that isn’t the tailgate — a tailgate is for setting the cooler down, not for cooking on, especially if it’s angled even a little. A cheap folding table solves this. Put the stove on it, keep your knife and cutting board next to it, and you’ve got a kitchen.
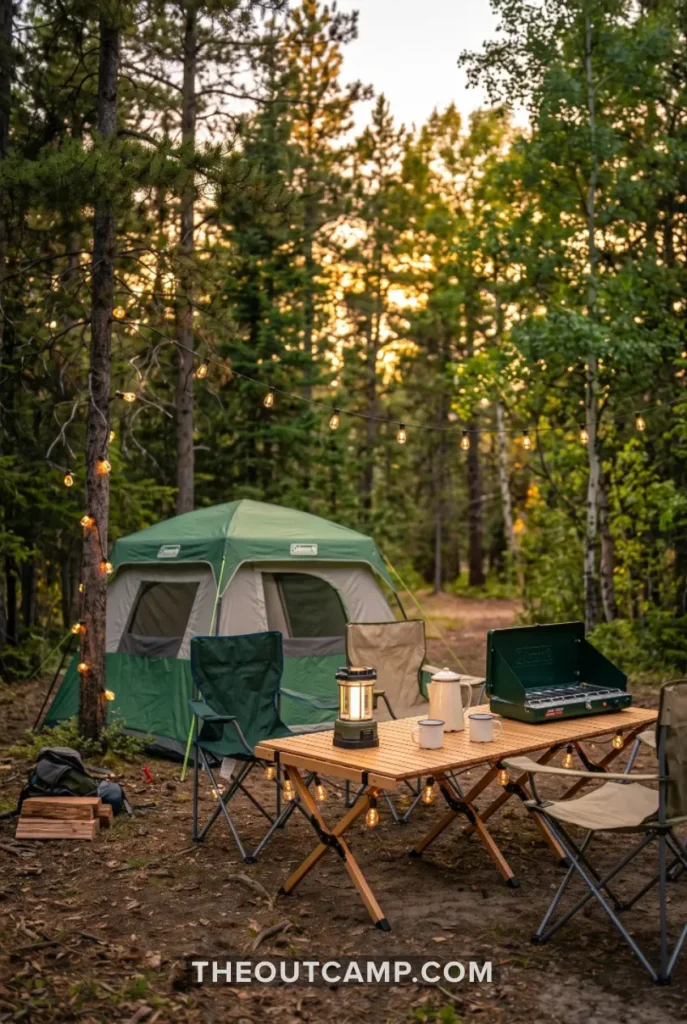
Two bins work better than one big tote for keeping things sorted: one for cooking (skillet, spatula, oil, seasoning, foil), one for cleanup (basin, soap, sponge, towel). You can see what’s in each one without digging through the other.
I run a Coleman Classic 2-Burner Propane Stove (~$45) even when I’m camping solo. It’s not fancy — no piezo igniter, no fold-out wind guards — but it’s never once let me down, and I hate waiting for water to boil before I can start the next thing. A single burner is lighter and honestly the smarter call if you’re trying to minimize what you’re carrying — don’t take the two-burner as a rule, it’s just what I’ve settled on.
For a full walkthrough of stove options, cookware, and what to actually pack for meals, I put together a dedicated camp kitchen setup guide that goes a lot deeper than there’s room for here.
The Part Most Beginners Skip (And Regret Skipping)
Shade.
A pop-up canopy or a car camping tarp setup turns a campsite into somewhere you actually want to sit during the day, instead of hiding in the tent to get out of the sun or huddling in the car when it drizzles. It’s the piece of gear that gets skipped most often because it feels optional, right up until the first time you need it and don’t have it.
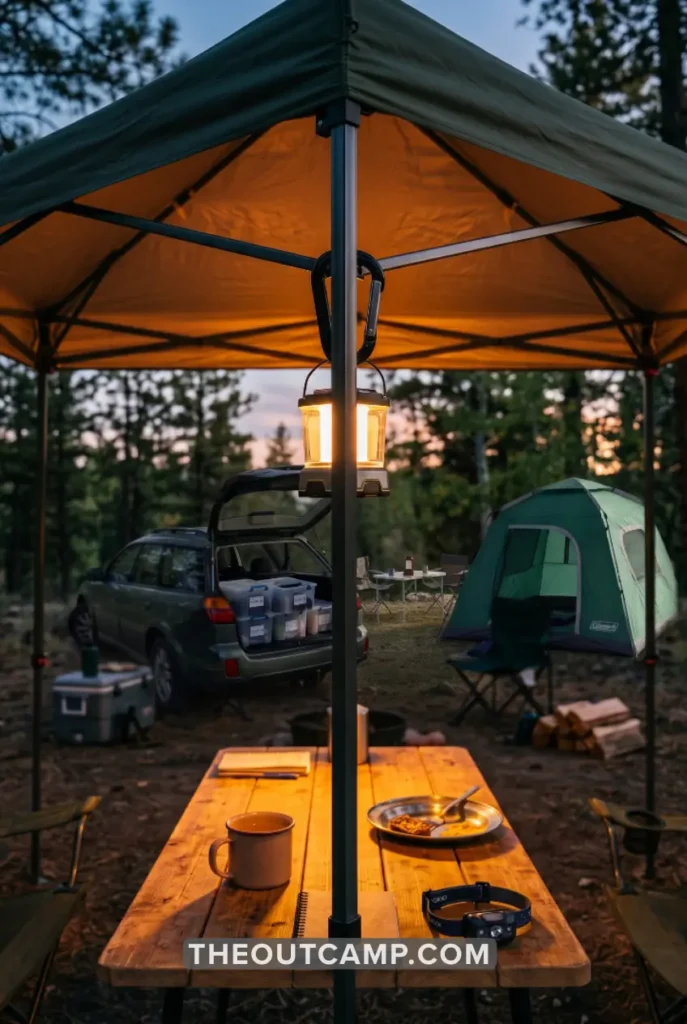
Stake it down. Every time, even if there’s no wind when you set it up. Weather changes fast outdoors, and an unstaked canopy in a gust is not something you want to chase across a campground.
I’ve landed on a canopy over a tarp setup, mostly because I don’t trust myself to rig a tarp well after a long drive when I’m tired and losing daylight. A tarp packs down smaller and plenty of people genuinely prefer it — that’s just not me.
A couple of decent camp chairs and a folding table round this zone out. If you’re buying your first set of chairs, something like the GCI Outdoor Freestyle Rocker (list price around $80, though it’s regularly discounted) holds up better than the $15 folding chairs and actually reclines a little, which matters more than people expect after a full day outside.
Car Camping Setup on a Budget: What to Buy First
You don’t need every car camping accessory right away, and you definitely don’t need the premium version of your whole car camping gear setup.
Budget tier ($150–$250): A basic dome tent, a $15–$20 sleeping bag per person, a cheap folding table, plastic bins you already own, and a $10 sun shade for the windshield. This gets you through two or three trips a year without complaints.
Mid tier ($350–$500): Upgrade the sleeping bag to something with a real cold rating, add a two-burner stove and a proper cooler, and pick up a pop-up canopy. This is roughly where most families who camp regularly land.
Premium tier ($700+): A four-season tent or a vehicle-specific sleeping platform, a self-inflating mattress custom-fit to your car, a portable power station, and gear built to survive weekly use instead of three trips a summer.
Start at the bottom of that list. Camp two or three times, notice what actually bothered you, and upgrade that specific thing. Buying the premium setup before your first trip usually means paying for problems you don’t have yet.
I started firmly in the budget tier and I’m still mostly there three years in, if I’m being honest — the only real upgrade I’ve made is the sleeping bag. That doesn’t mean you’ll land in the same spot. If you’re camping every other weekend instead of three times a summer, the mid tier probably pays for itself faster than it did for me.
If you’re shopping for your first car camping tent, something like the Coleman Skydome 4-Person Tent (list price around $150, frequently discounted closer to $90–$100) is a reasonable starting point for a family of three or four — it fits a queen-size air mattress inside if you’re going the tent-plus-mattress route, though it wasn’t built to survive a blizzard.
Car Camping Setup by Vehicle: Sedan, SUV, Minivan, and Subaru
A lot of car camping setup advice assumes you’re driving an SUV or a minivan with the seats folded flat. If you’re working with a sedan or a smaller crossover, some of it doesn’t apply, and it’s worth saying that out loud instead of pretending every setup fits every car.
A small car camping setup basically means prioritizing. You’ve got less room for bins, so the two-bin kitchen system matters even more. A tent becomes the better call over sleeping in the vehicle, since there’s rarely enough flat space in a sedan trunk or back seat for a mattress that isn’t bunched up against the door panels. Roof storage — even just a cargo bag strapped to the factory roof rails — frees up a surprising amount of trunk space if your car has rails to strap it to.
A Subaru Outback car camping setup is almost its own category at this point — flat cargo area, decent ground clearance, and just enough room for two adults to sleep across the back with the seats folded. If that’s what you’re driving, you’re closer to the minivan end of this than the sedan end, even though it doesn’t look like it from the outside. I drive a mid-size SUV myself, not a Subaru or a minivan, so treat the exact inches here as a starting point — measure your own trunk before assuming anything above applies directly.
If you’re on the other end of things, with a minivan or a larger SUV, you’ve got room to be pickier about mattress fit and can realistically sleep in the vehicle without a tent at all. I’ve tested exactly how much room that gives you in specific models — here’s the full fit breakdown for minivans if a Sienna, Odyssey, or Pacifica is what you’re working with.
If getting low to the ground isn’t easy on your knees anymore, that’s worth factoring in too — a raised cot or a platform in the vehicle usually beats a tent floor for anyone dealing with mobility issues, car camping for seniors included. That’s really a topic on its own, and I haven’t done it justice here.
Car Camping Setup Mistakes That Are Easy to Avoid
Buying gear before testing it is the big one. Set the tent up once before the trip. Actually lay on the mattress in the spot you plan to sleep on it.
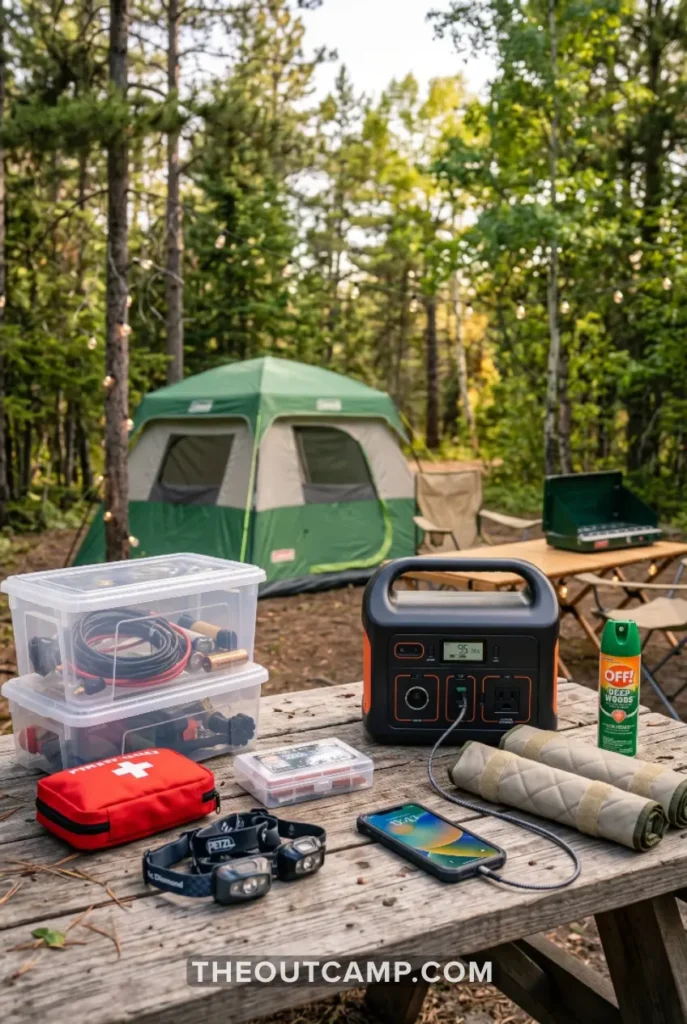
Skipping the cold-weather planning is another. Most people think about their sleeping bag’s temperature rating and stop there, but if you’re sleeping on a cot, the part of the bag underneath you gets squashed flat against the fabric — that part stops keeping you warm, no matter what the tag says. I’ve got more on fixing that in a guide to staying warm in a tent overnight, including the cot problem specifically, since almost nobody talks about it.
Overpacking clothes instead of layers is a smaller one, but it adds up. You need fewer items and more flexibility — a T-shirt, a fleece, a rain layer — than a full suitcase of options you won’t use.
And setting up the kitchen before the tent. Most guides tell you to always pitch the tent first. Honestly, if the weather’s clear and the ground looks fine, I set up the kitchen first so I’m not standing around hungry while I wrestle with tent poles. If rain’s coming, that changes — tent goes up first, no question. It depends on the day more than most guides make it sound like it does.
My Honest Take
I got the mattress thing wrong on my first real trip. Bought a full-size air mattress without measuring my back seat first, and it turned out to be about three inches too wide for the space with the seats folded down. I slept diagonally for two nights with my feet against the door panel, and I still remember exactly which rest stop I pulled into to try to fix it at 11 p.m. with nothing but a tape measure app on my phone.
If a friend asked me one thing this article hasn’t already said, it’s this: build your setup at home first, not at the campsite. Fold the seats down, lay the mattress in, sit in the tent in your driveway for ten minutes. It feels a little ridiculous. It also means the first time you find out something doesn’t fit is in your driveway and not two hours from cell service.
I still don’t have a roof rack, three years in. Might get one eventually. Hasn’t stopped me yet.
FAQ: Car Camping Setup
What is car camping, exactly?
It’s camping where you drive to the site instead of hiking in, and either pitch a tent nearby or sleep inside the vehicle itself. Both count as figuring out how to car camp — there’s no single right version. Most campgrounds and dispersed sites allow either, though some developed campgrounds don’t permit sleeping in a vehicle for liability reasons, so it’s worth checking ahead if that’s your plan.
How much does a basic car camping setup cost?
Between $150 and $350 for a functional setup covering sleep, kitchen, and basic outdoor gear, mostly sourced from Walmart, Target, or Amazon. You can go well above or below that depending on how often you plan to camp.
Do I need a tent if I’m sleeping in my car?
No. If you’re sleeping in the vehicle, a tent is optional and mostly useful as extra daytime space to sit up, change, or store gear out of the weather. Plenty of car campers skip it entirely.
What’s the most important piece of gear for a car camping setup?
Depends who you ask, but for most beginners, it’s whatever you’re sleeping on. A bad night’s sleep ruins the rest of the trip faster than a missing lantern or a burnt dinner ever will.
Does a car camping setup change in summer?
Mostly around shade and food safety. A cooler that holds ice for two days in April might not make it past day one once temperatures climb, and setting up in full shade instead of full sun changes how comfortable the tent is by afternoon. Figuring out how to car camp in summer is really just this same setup with more attention paid to heat.
Do car camping setups work for festivals, not just campgrounds?
Some of it, yes — the organization and kitchen zone ideas apply whether you’re at a state park or in a festival parking lot for the weekend, Coachella included. Parking-lot camping usually comes with its own rules around quiet hours and generator use that a state or national park doesn’t have, so check the event’s specific policy before you set anything up.
Where to Start This Weekend
Pick one trip. Build the sleep system and the kitchen zone first — those two matter more than the rest combined — using gear you already own if you’ve got it. Test the tent or the mattress fit at home before you leave. Add the outdoor living pieces and the organization system on your second or third trip, once you know what you actually reach for and what just rode along in the trunk the whole time.
Pingback: How to Start a Fire Without Matches (6 Proven Methods) - The Out Camp