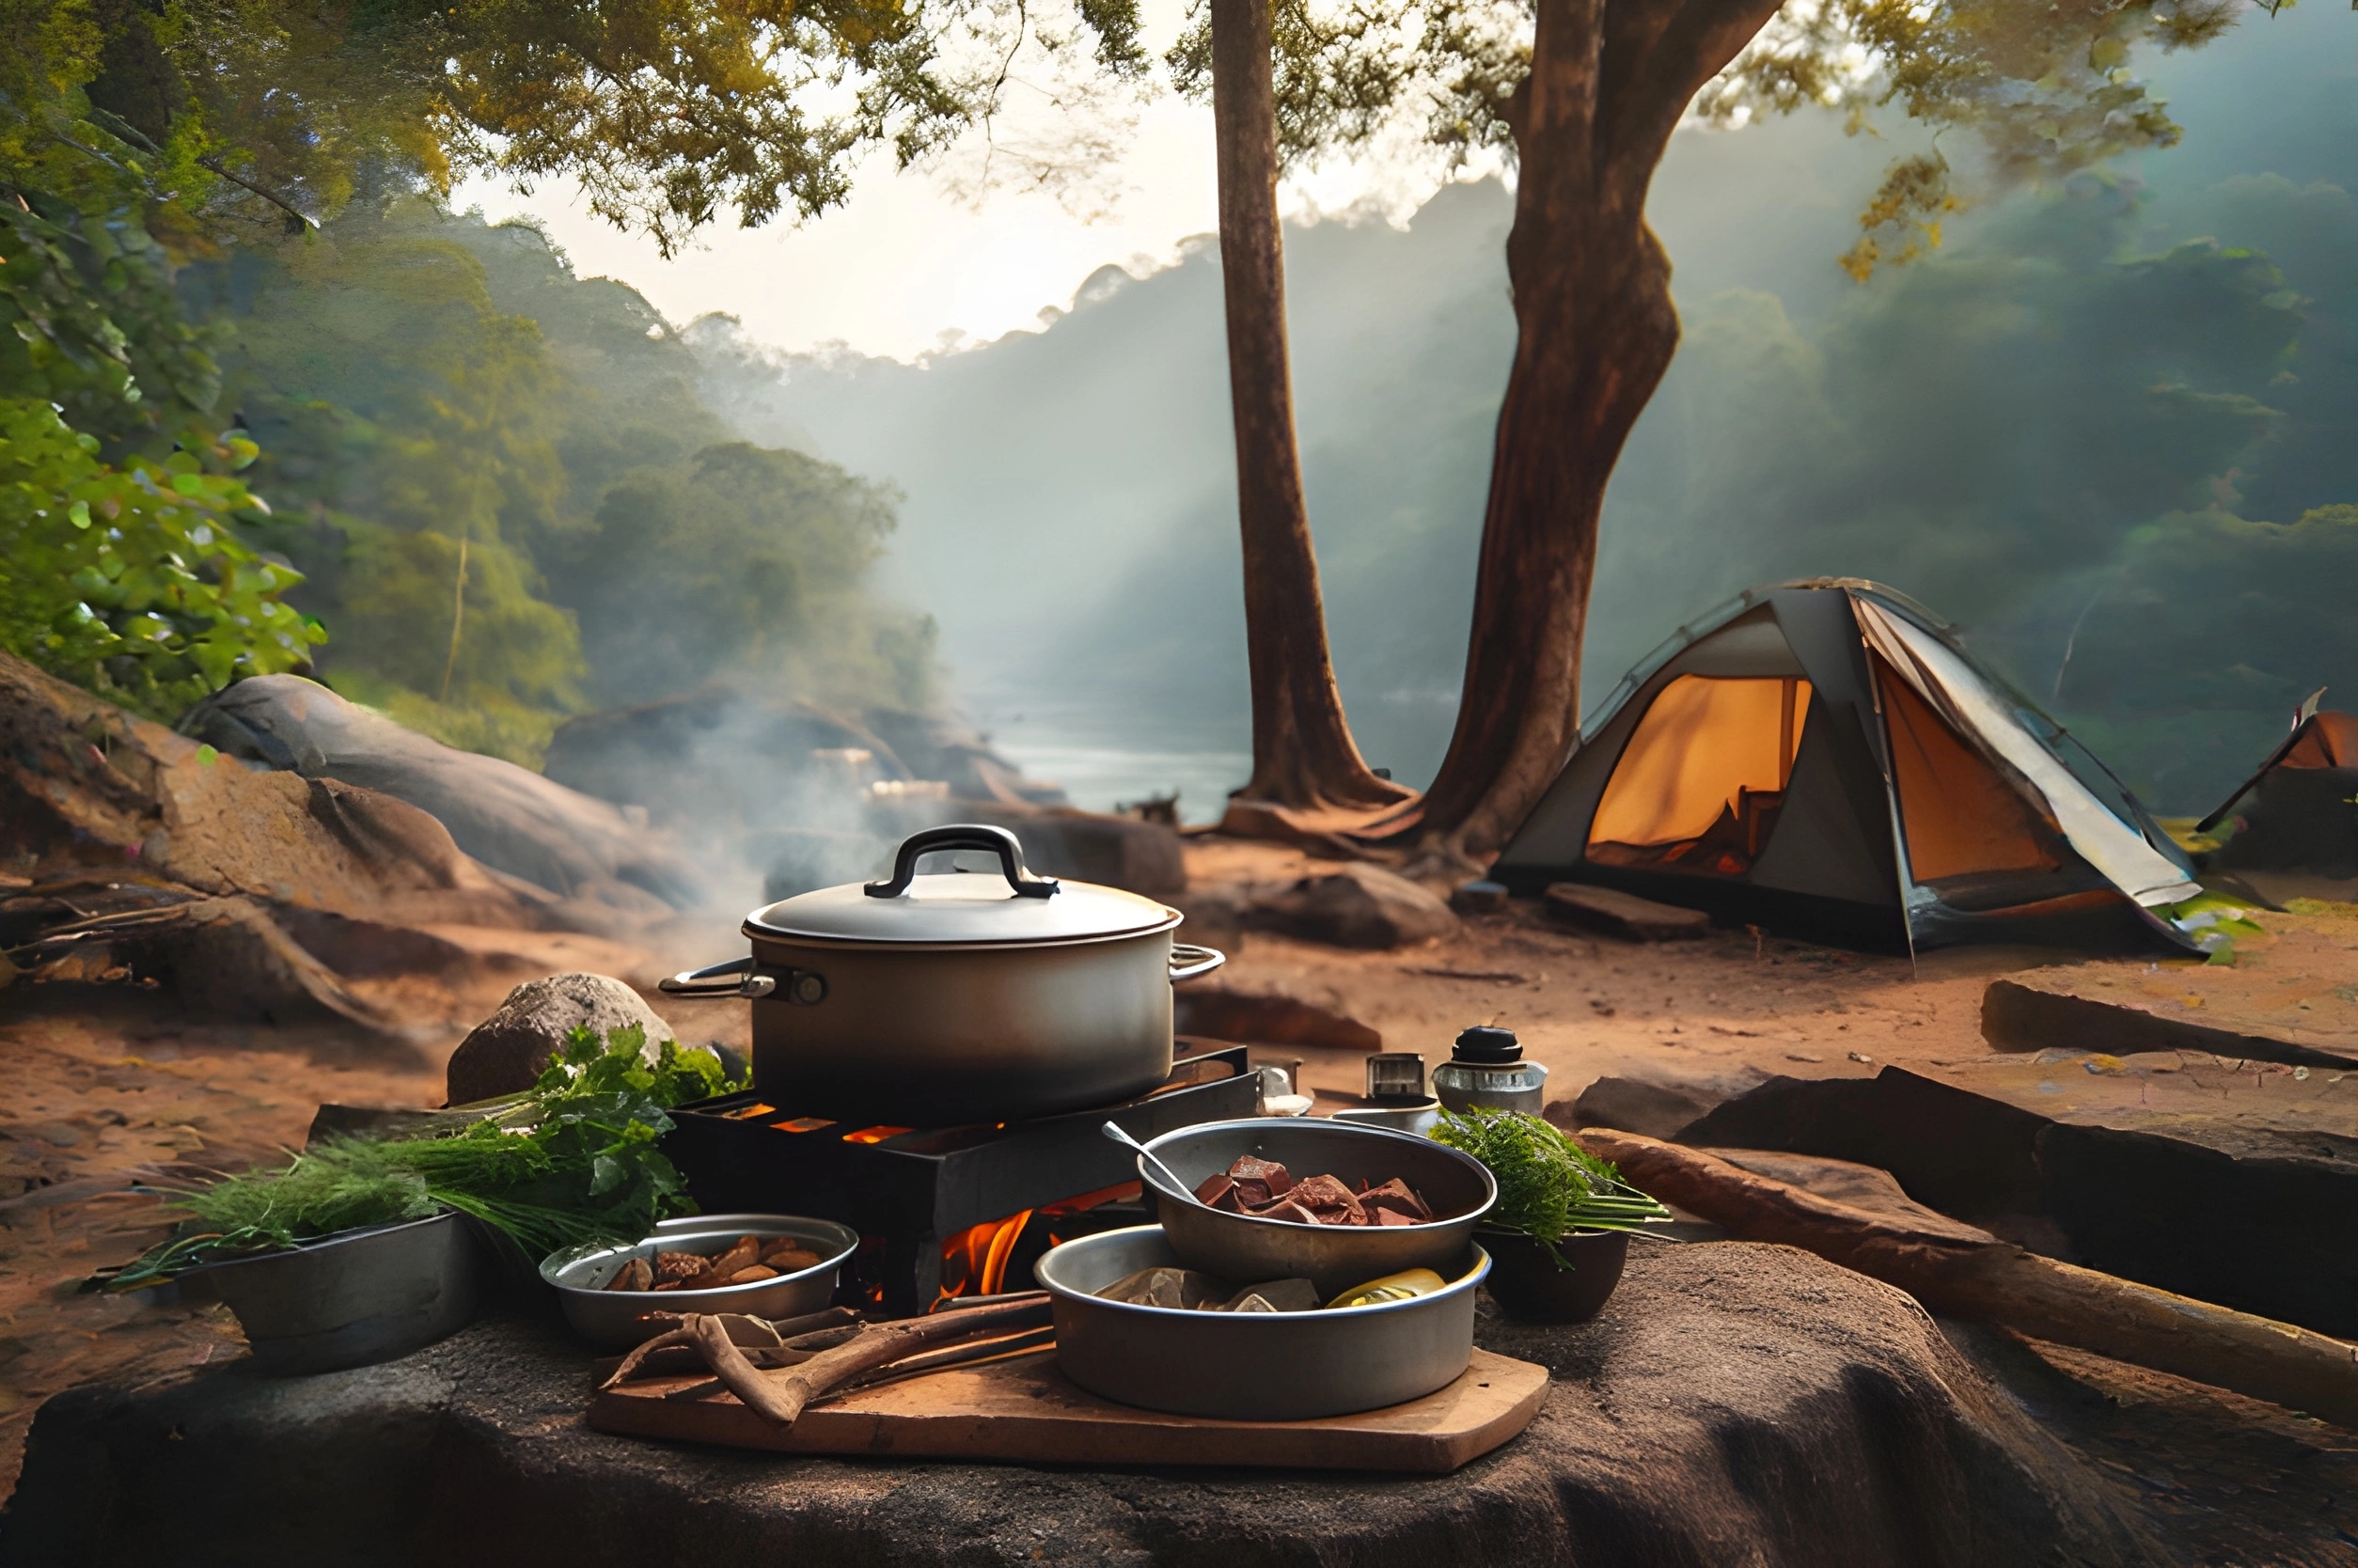
When you picture camp cooking, do you imagine pouring boiling water into a freeze-dried meal pouch or roasting hot dogs over a campfire? While these are classic options, elevating your camp kitchen setup can transform mealtime into a highlight of your camping adventure. A well-organized camping kitchen setup doesn’t require expensive gear or years of experience—just the right tools and a smart plan.
As a passionate campers with over ten years of camping experience across national parks and remote wilderness, I’ve honed a compact, efficient camp kitchen that makes cooking outdoors as enjoyable as eating the results. In this guide, I share my hard-earned tips, gear recommendations, and detailed steps to help you create a stress-free camp kitchen setup, whether you’re new to camping or a seasoned adventurer searching for the best camping kitchen setup ideas.
This article contains affiliate links. If you purchase through these links, I may earn a small commission at no extra cost to you, helping support my work. My recommendations are based on personal experience and thorough testing. Read my full disclosure for details.
Why a Great Camp Kitchen Setup Matters
A functional camp kitchen transforms mealtime from a chore into a highlight of your trip. Imagine chopping vegetables on a stable table, simmering a pot of chili on a reliable stove, and cleaning up effortlessly with a portable sink—all while surrounded by nature. My years of trial and error, from windy ridges to rainy forests, have taught me that a smart setup saves time, reduces frustration, and lets you focus on the joy of outdoor cooking.
How to Set Up a Camping Kitchen in 5 Easy Steps
Creating a camp kitchen setup doesn’t require complex gear or advanced skills. Through countless camping trips, I’ve refined a five-step process that ensures efficiency and safety, even in challenging conditions. Here’s how to get started.
Step 1: Choose the Right Campsite Location
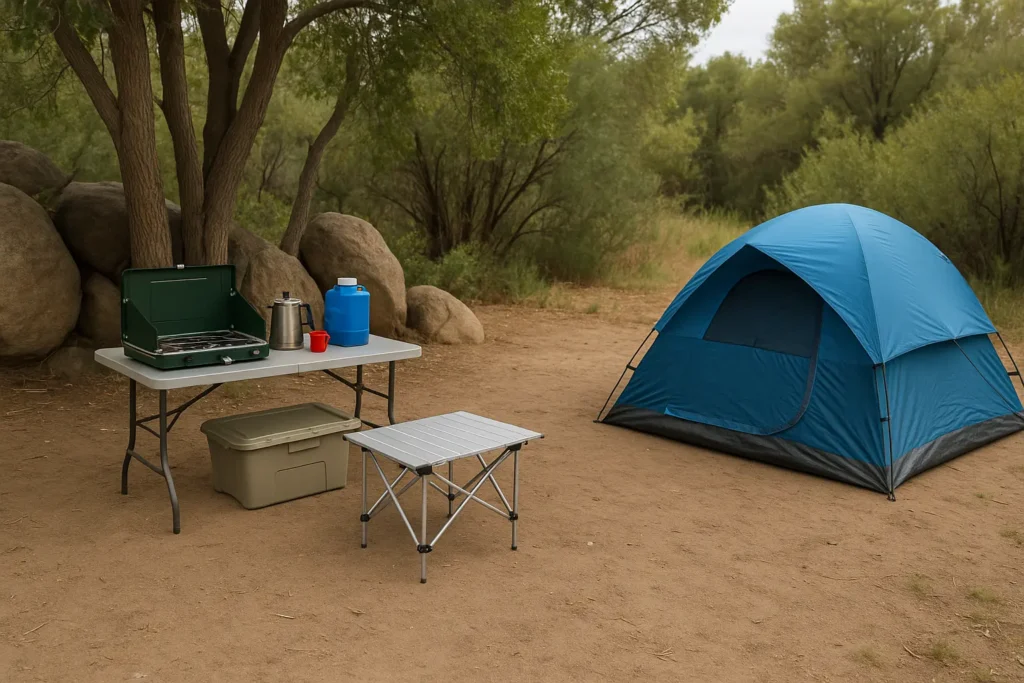
The foundation of a good camp kitchen is its location. I always select a flat, level spot at least 100 feet from my tent to keep food smells away from where I sleep, reducing the risk of attracting wildlife like bears or raccoons. In places like Yosemite, where bears are common, this precaution is non-negotiable. Look for natural windbreaks, like trees or boulders, to shield your stove, but avoid overhanging branches that could catch fire. A well-chosen spot sets the stage for a smooth cooking experience.
Step 2: Set Up a Prep Station
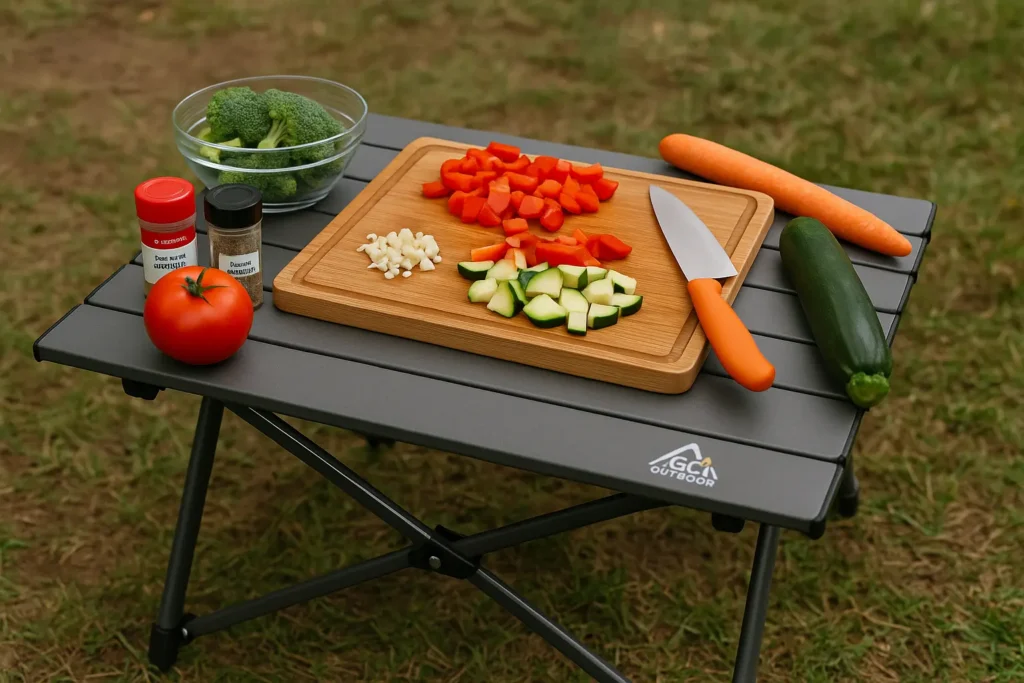
A sturdy prep station is the heart of your camp kitchen. I rely on a folding table, like the GCI Outdoor Compact Camp Table, which is lightweight yet strong enough to hold a cutting board, ingredients, and utensils. On one windy trip in Joshua Tree, I learned the hard way to secure the table on uneven ground—now I check for stability before unpacking. Keep essentials, like a sharp knife and flexible cutting board, within arm’s reach to streamline meal prep. This setup mimics a home kitchen’s efficiency, making chopping and mixing a breeze.
Step 3: Position Your Cooking Equipment
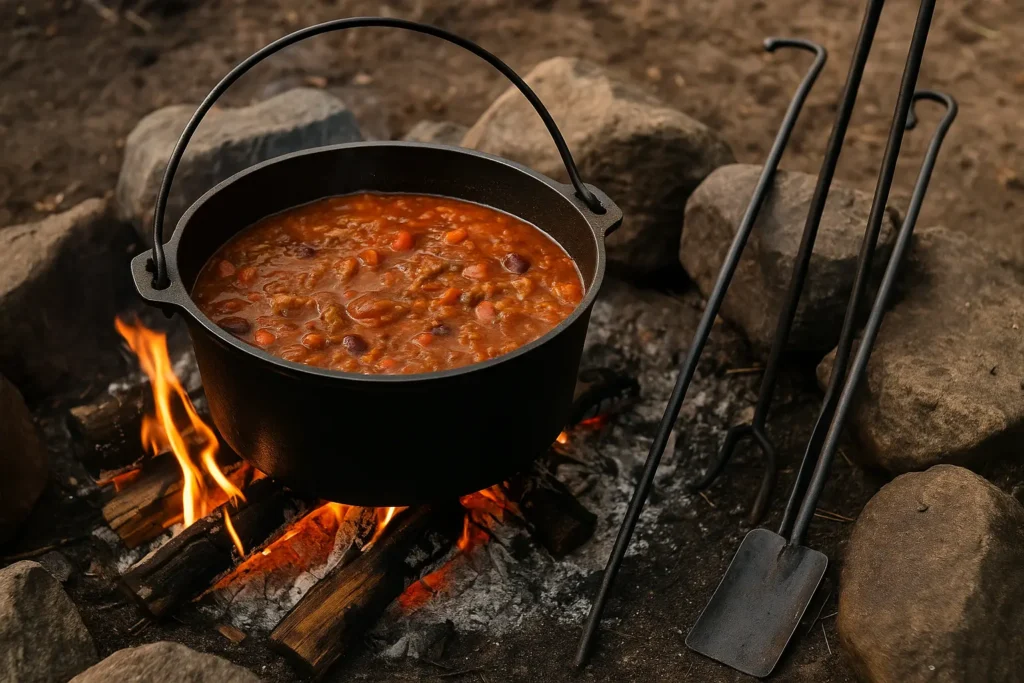
Your cooking setup is where the magic happens. I prefer this reliable Coleman Triton 2-Burner Stove, for its versatility in boiling water and sautéing vegetables simultaneously. Its built-in windbreaks saved dinner during a blustery evening in the Smoky Mountains. Position the stove on your table, away from flammable materials, and store propane or butane canisters in a shaded, secure spot. For campfire cooking, I use a cast iron Dutch oven and long-handled tools to manage coals safely, ensuring I build a safe campfire first.
Step 4: Organize Food Storage Thoughtfully
Proper food storage keeps your meals fresh and your campsite safe. I use a Yeti Tundra 35 cooler for perishables, packed with ice blocks that last up to three days. Dry goods, like rice and spices, go into reusable silicone bags to save space and stay organized. In bear country, such as the Sierras, I store all food and scented items (including toothpaste) in a bear-proof canister or my locked vehicle overnight. This habit, learned after a curious raccoon raided my campsite years ago, ensures peace of mind and compliance with park regulations.
Step 5: Establish a Cleaning Station
A clean campsite is a happy campsite. I set up three collapsible tubs—one for washing with hot water and biodegradable soap, one for rinsing, and one for sanitizing with a mild bleach solution, ensuring I follow why biodegradable soap matters. This system, refined over years of car camping, keeps dishes spotless. I also keep trash bags and a roll of paper towels handy to manage waste immediately. On a rainy trip in Olympic National Park, I discovered the value of a portable sink like the Sea to Summit Kitchen Sink, which made cleanup quick despite the weather.
Pro Tip: Write down any forgotten items during your trip to refine your setup for future adventures.
Essential Gear for a Compact Camping Kitchen
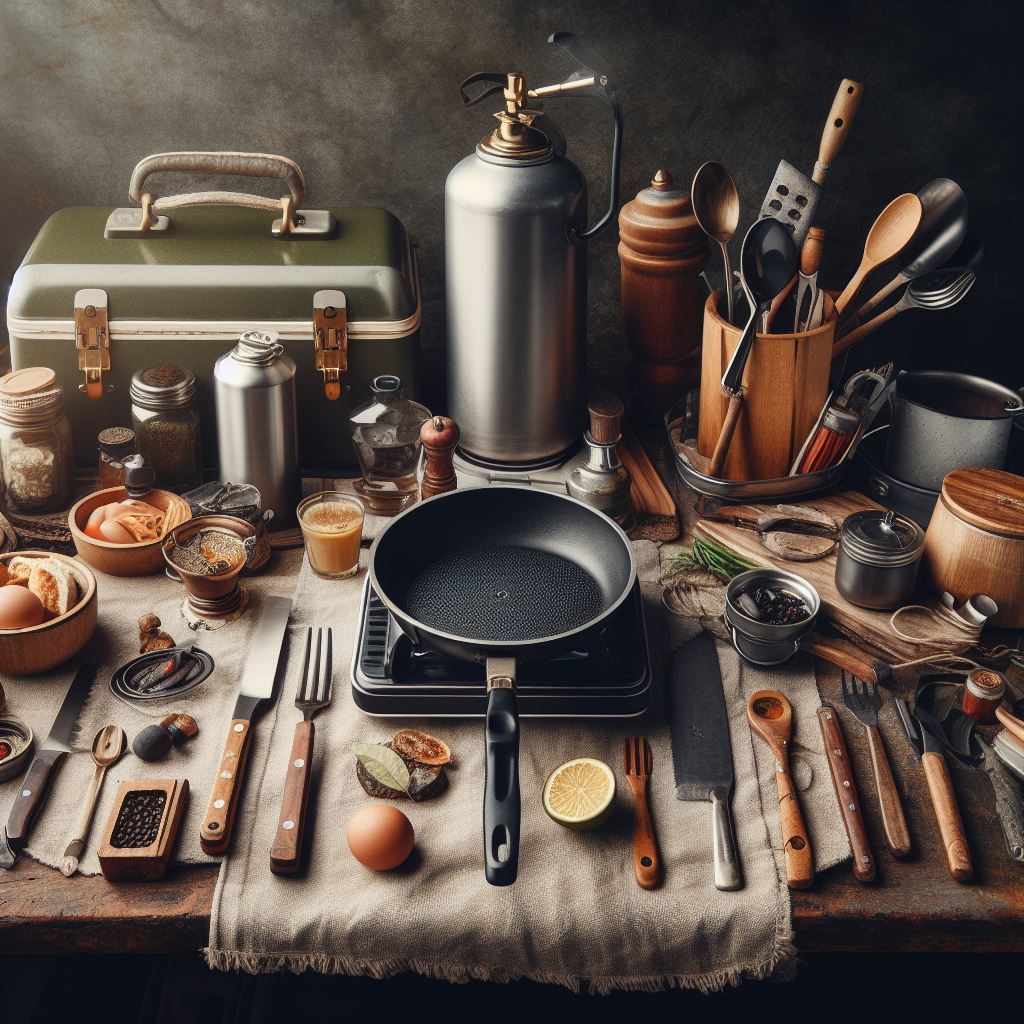
A well-equipped camp kitchen balances portability, durability, and functionality. After testing gear in deserts, mountains, and forests, I’ve curated a list of essentials that work for every camper, from budget-conscious beginners to luxury-seeking car campers. The table below outlines my top picks, including price ranges and their purpose.
| Item | Purpose | Recommended Product | Price Range |
|---|---|---|---|
| Camping Stove | Cooking versatile meals | Coleman Triton 2-Burner | $100–$120 |
| Folding Table | Stable prep surface | GCI Outdoor Compact Camp Table | $60–$80 |
| Cooler | Perishable food storage | Yeti Tundra 35 | $250–$300 |
| Cast Iron Pan | Durable cooking | Lodge 10.25-Inch Skillet | $15–$30 |
| Cutting Board | Safe food prep | Flexible Plastic Board | $10–$15 |
| Collapsible Sink | Efficient dishwashing | Sea to Summit Kitchen Sink | $30–$40 |
| Biodegradable Soap | Eco-friendly cleaning | Dr. Bronner’s Pure-Castile Soap | $5–$10 |
| Silicone Bags | Dry food storage | Reusable Silicone Bags | $10–$15 |
| Silverware Set | Dining essentials | Coleman Stainless Steel Set | $15–$20 |
| Coffee Maker | Morning brew | GSI Outdoors Ultralight Java Drip | $10–$15 |
These choices reflect my experience with gear that withstands rugged conditions while keeping setup simple. The Coleman Triton, for instance, has been my go-to for five years, reliably cooking everything from pancakes to stir-fries. For a deeper dive into coolers, see my guide on How to Choose the Best Camping Fridge.
Choosing the Right Camping Stove
Your stove is the cornerstone of your camp kitchen setup, and choosing the right one can make or break your cooking experience. Over my ten years of camping, I’ve tested everything from ultralight backpacking stoves to heavy-duty propane models.
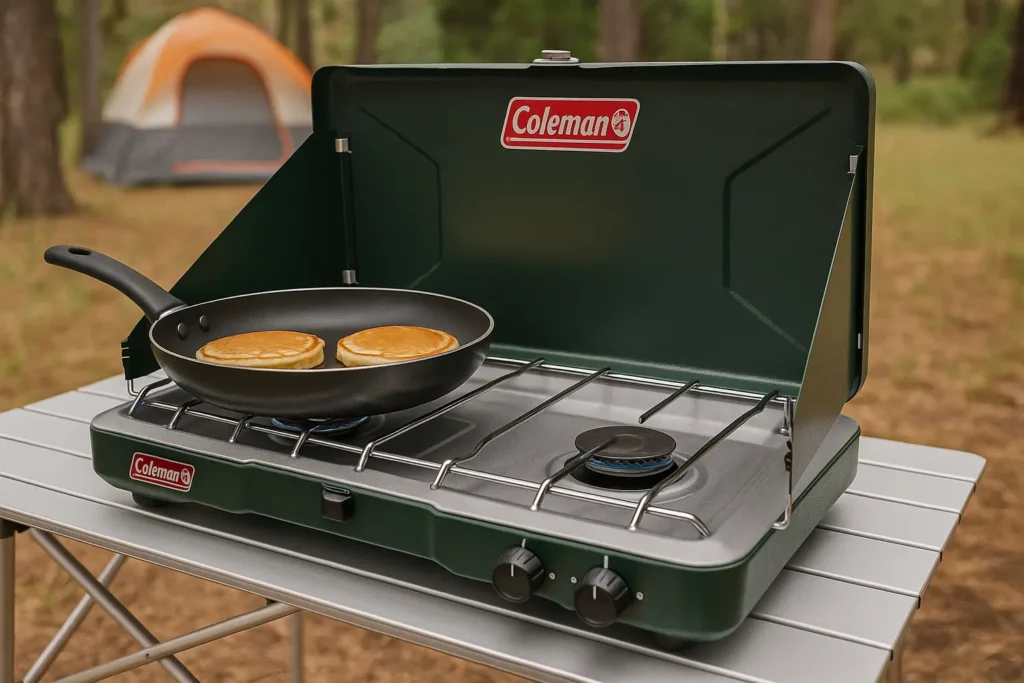
For most campers, a two-burner stove like the Coleman Triton ($80–$100) is ideal, offering versatility for boiling water and cooking complex dishes like stir-fries. Its windbreaks, which saved my dinner in the gusty Smoky Mountains, ensure consistent heat.
For backpackers, I recommend the Jetboil Flash, which weighs just 1 pound and boils water in 100 seconds, perfect for quick meals. Check fuel compatibility—propane is widely available, but I always carry a spare canister after running dry mid-meal in the Tetons. Consider portability, ease of cleaning, and burner power when choosing. A reliable stove, tailored to your camping style, ensures you’re never stuck eating cold cereal. For more stove tips, see REI’s stove guide.
Best Camp Kitchen Setup Ideas for Every Camper
No two campers are alike, and your camp kitchen should reflect your style and needs. Over the years, I’ve experimented with setups for different trips, from solo backpacking to family car camping. Here are three tailored ideas to spark your creativity.
Minimalist Setup for Backpackers
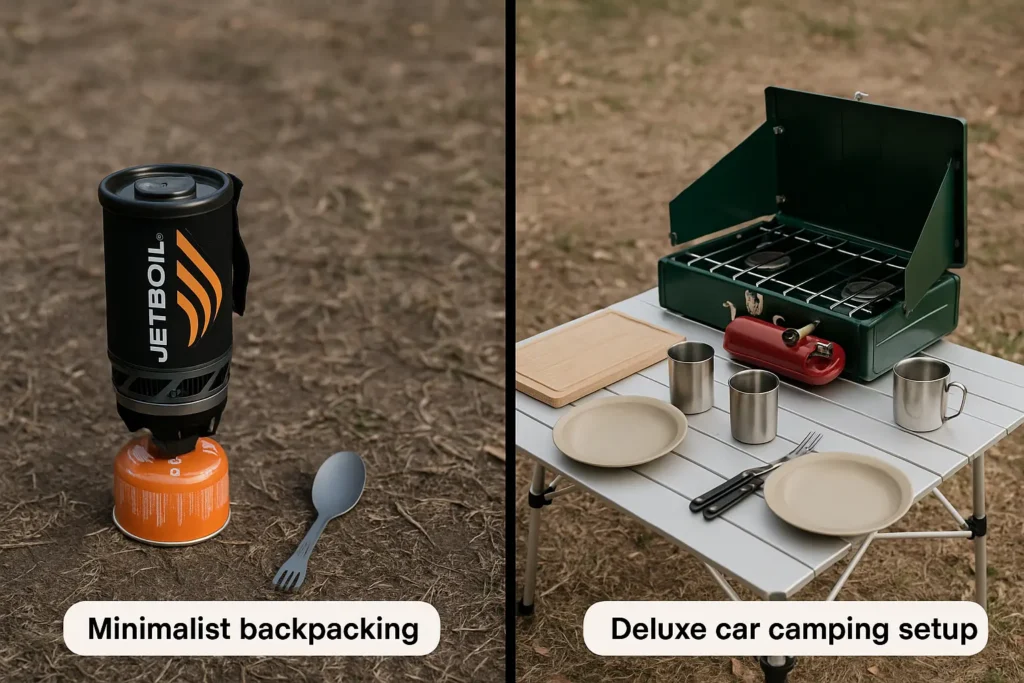
When every ounce counts, a minimalist camp kitchen is key. I carry a Jetboil Flash stove, which weighs just 1 pound and boils water in 100 seconds, perfect for quick meals like couscous or oatmeal. A titanium spork and collapsible silicone bowl handle eating and cleanup, while reusable silicone bags store dry foods compactly. On a recent Appalachian Trail hike, this setup kept me fueled without weighing me down, proving that simple can still be satisfying.
Deluxe Setup for Car Campers
Car camping offers the luxury of extra space, perfect for car camping with a minivan like the Toyota Sienna. A folding dining table with chairs creates a comfortable eating area, while a dual-fuel stove and portable sink elevate cooking to near-home levels. I bring a French press for rich coffee and glass wine cups for evening relaxation. During a week-long trip to Yellowstone, this setup let me serve gourmet meals like grilled salmon, making camp feel like a rustic retreat.
Car camping offers the luxury of extra space, perfect for car camping with a minivan like the Toyota Sienna. A folding dining table with chairs creates a comfortable eating area, while a dual-fuel stove and portable sink elevate cooking. During a week-long trip to Yellowstone, this setup let me serve gourmet meals like grilled salmon, making camp feel like a rustic retreat.
Tent Camping Kitchen Setup
Tent campers need a balance of compactness and functionality, especially when choosing best tents for camping to house their gear. I use a low-profile roll-up table to save space and stackable bins to organize gear inside my tent. Food stays in a bear-proof canister or my vehicle to avoid wildlife encounters. On a rainy weekend in the Adirondacks, I learned to keep a tarp over my cooking area, ensuring dry prep space. This setup is ideal for those prioritizing portability without sacrificing meal quality.
Packing a Portable Kitchen Box
A portable kitchen box is a game-changer for keeping your camp kitchen setup organized. I learned this after years of rummaging through loose gear in the back of my car during a chaotic Grand Canyon trip. Now, I use a sturdy plastic storage bin (like a 30-quart Rubbermaid) to hold all my essentials—utensils, spices, cutting board, and stove accessories.
Pack frequently used items, like a knife and lighter, at the top for quick access, a trick that saved me time during a rushed setup in Glacier National Park. Use smaller containers or dividers inside the box to separate cookware from cleaning supplies, preventing clutter. Choose a box that fits your vehicle or tent space—measure before buying.
After each trip, I check my box to replenish items like biodegradable soap or salt, ensuring I’m ready for the next adventure. A well-packed box streamlines your setup, letting you focus on cooking rather than searching for gear.
Budget-Friendly Camp Kitchen Setup Tips
Building a top-notch camping kitchen setup doesn’t have to break the bank. As someone who started camping with hand-me-down gear, I’ve learned to create functional setups on a tight budget, from my early days in the Adirondacks to recent trips in the Great Smoky Mountains. These tips, refined over years of resourceful camping, help you cook delicious meals without splurging on premium equipment.
Start with versatile, affordable gear. The Coleman Classic stove, at ~$50, handles everything from boiling water to frying eggs. I used it for three years, and it held up in windy conditions. Pair it with a $10 aluminum pot set from a thrift store—check for durability to ensure longevity.
Repurpose household items, like a home cutting board or mason jars for spices, as I did on a budget trip to Shenandoah, where a $15 foldable beach table served as my prep station. For cooling, a $30 Igloo cooler works for short trips. Shop used or off-season; I found a cast iron skillet for $8 at a garage sale, now my campfire staple. These choices kept my initial setup under $100. See my Camping Gear Guide for more recommendations.
Tips for Safe and Efficient Outdoor Cooking
Safety and efficiency are the backbone of a great camp kitchen setup. My years of camping have taught me to anticipate challenges, from wildlife to weather, and plan accordingly.
Safe Food Storage for Camping
Proper food storage is critical to keep your campsite safe and your meals fresh. In bear country, like the Sierras, I store all food, drinks, and scented items (like toothpaste) in a bear-proof canister or my locked vehicle overnight, a habit formed after a raccoon raided my campsite years ago. During a trip to Mount Whitney, I followed National Park Service guidelines, keeping my cooler 100 feet from my tent to avoid attracting wildlife.
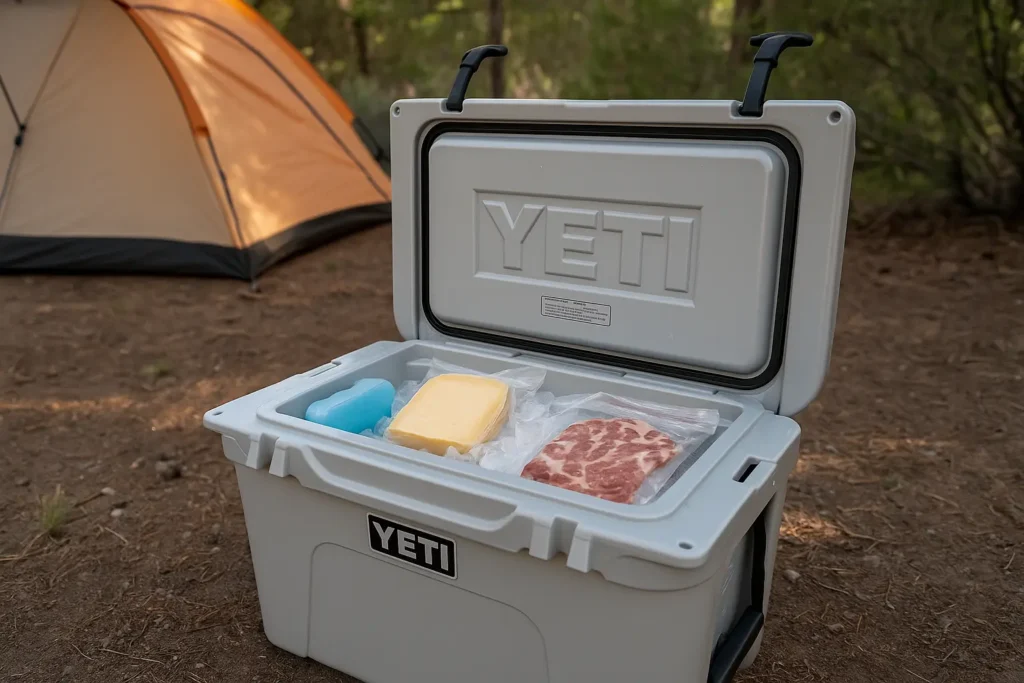
Use a Yeti Tundra 35 cooler with ice blocks for perishables, lasting up to three days, and pack dry goods like rice in reusable silicone bags to save space. Clean up food scraps immediately and pack out all waste to maintain a pristine campsite. These steps, learned through experience, ensure safety and compliance with park rules, protecting both you and the environment.
Fire safety is another priority. I keep a small fire extinguisher or bucket of water near my stove or campfire, a habit formed after a windy night nearly sparked a mishap. Never leave flames unattended, and check local fire regulations. Visit Smokey Bear’s official site for expert advice. Eco-conscious cleaning, using Dr. Bronner’s biodegradable soap and disposing of gray water 200 feet from water sources, aligns with essential camping hygiene tips I’ve learned through Leave No Trace training.
Meal Planning Strategies for Camp Kitchen Success
A great camp kitchen setup is only as good as the meals you cook in it. Over my ten years of camping, I’ve learned that thoughtful meal planning can turn a basic setup into a gourmet experience, even with limited gear. Whether you’re cooking for a weekend or a week, these strategies, honed through trips from the Rockies to the Everglades, ensure delicious, stress-free meals.
Start by choosing simple, one-pot recipes to minimize cleanup. My go-to is a vegetable chili: canned beans, diced tomatoes, and spices simmered in a cast iron Dutch oven for a hearty, low-effort dinner. For breakfast, I pre-mix pancake batter at home and store it in a reusable silicone bag, ready to pour onto a hot skillet. These choices save time and reduce the need for multiple pots, perfect for a compact camp kitchen setup.
Plan your menu around your cooler’s capacity. I pack perishables like cheese and meat for the first two days, then switch to shelf-stable foods like couscous and dried lentils. On a recent trip to Big Bend, this approach kept my Yeti Tundra 35 efficient, with ice lasting three days. Pre-portion ingredients in ziplock bags to save space and streamline prep—chopping onions at home beats doing it on a wobbly camp table.
Embrace eco-friendly practices to align with Leave No Trace principles, which I’ve followed since my early camping days. Avoid single-use plastics by using reusable containers for leftovers, and pack out all food waste to stay clean while camping. For inspiration, try my favorite camp recipe: a foil-packet salmon with lemon and herbs, cooked over a campfire for minimal cleanup.
Troubleshooting Common Camp Kitchen Challenges
Even the best camping kitchen setup can face hiccups, from sudden rain to a finicky stove. Over ten years of camping, I’ve encountered my share of challenges, from a flooded campsite in Olympic National Park to a clogged stove burner in the Mojave Desert. Here’s how to tackle common issues to keep your outdoor cooking on track.
When rain threatens your setup, a tarp is your best friend. I learned this during a soggy weekend in the Pacific Northwest, where I strung a lightweight tarp over my cooking area using bungee cords and nearby trees. Position the tarp at an angle to shed water, and keep your stove and table underneath for dry prep. If rain catches you unprepared, move cooking to a covered picnic shelter or your vehicle’s tailgate, as I did during a storm in the Catskills.
A malfunctioning stove can derail dinner, but simple fixes often work. If your burner sputters, check the fuel canister connection—mine loosened during a bumpy drive to Arches National Park. Clean clogged jets with a pin, and always carry a spare canister, a lesson I learned after running dry mid-meal. For reliable stove maintenance tips, check REI’s guide.
Limited space is a frequent issue, especially for tent campers. I maximize my setup by using a roll-up table and stacking bins vertically, a trick that saved my sanity on a crowded site in Acadia. Hang utensils on a carabiner clipped to your table’s edge, and use a collapsible cooler to double as a seat. These solutions, born from years of adapting to small campsites, keep your kitchen functional no matter the constraints.
By anticipating these challenges, you’ll cook with confidence in any condition. My experience has taught me that a little preparation turns potential frustrations into minor bumps.
Adapting Your Camp Kitchen Setup for Different Conditions
Your camp kitchen setup should adapt to the environment and season for optimal performance. Over my ten years of camping, I’ve cooked in scorching deserts and snowy mountains, learning to tweak my setup for each condition.
In winter, insulate your cooler to keep food from freezing, a trick I used in the Rockies when temperatures dropped below 20°F. Use a high-output stove like the Coleman Triton to boil water faster in cold air, and store fuel canisters in your sleeping bag overnight to maintain pressure. For desert camping, like my Joshua Tree trips, prioritize shade—set up under a tarp or tree to protect your cooler from melting ice too quickly. Pack extra water for drinking and cleaning, as sources are scarce.
In forested areas like the Adirondacks, watch for falling branches when choosing your kitchen site, and use a bear canister to comply with local wildlife regulations. Coastal campsites, like those in Olympic National Park, require rust-resistant gear and a tarp for sudden rain. These adjustments, born from diverse camping experiences, ensure your kitchen thrives in any setting.
Camp Kitchen Setup FAQs
Ready to Master Outdoor Cooking?
A thoughtfully designed camping kitchen setup turns every meal into a celebration of the outdoors. From brewing coffee at dawn to grilling dinner under the stars, the right tools and plan make it all possible. What’s your must-have camp kitchen item? Drop your thoughts in the comments, or dive into my Camping Gear Guide for more tips. Sign up for my newsletter for exclusive camping hacks and gear deals to fuel your next adventure.
Share This Guide: Inspired by these camp kitchen setup ideas? Spread the word on X or Pinterest to help other campers elevate their outdoor meals!
